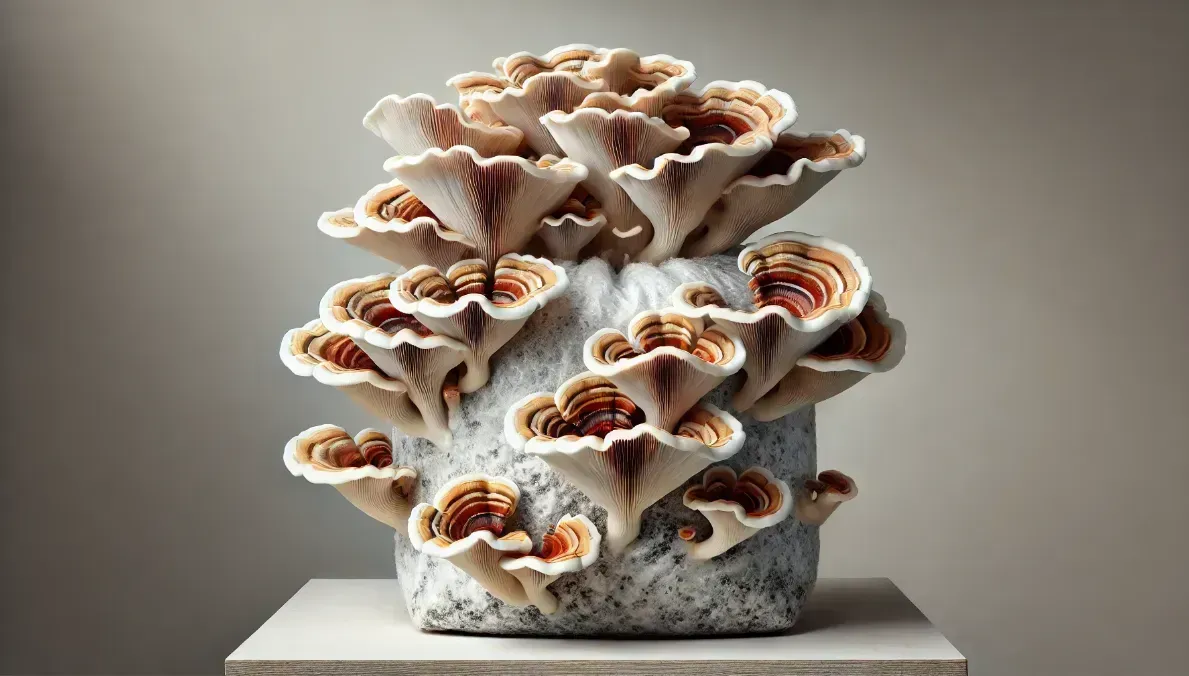
Turkey Tail mushrooms (Trametes versicolor) are prized not only for their striking, multicolored appearance but also for their potential wellness benefits. Growing your own Turkey Tail mushrooms offers a rewarding way to connect with nature and provides a continuous source of these beneficial fungi, whether for culinary, medicinal, or decorative purposes. This guide will walk you through two effective cultivation methods: the log method, which replicates Turkey Tail’s natural woodland environment, and the bag method, a versatile indoor approach for those looking to control growing conditions closely. Each method has its advantages, allowing you to choose the one that best suits your needs and growing space.
In This Review:
- What Are Turkey Tail Mushrooms?
- Choosing a Growing Method: Log vs. Bag
- How to Grow Turkey Tail Mushrooms on Logs
- How to Grow Turkey Tail Mushrooms in Bags
- How to Harvest & Use Your Turkey Tail Mushrooms
- Diving Deeper into Mushroom Cultivation
What Are Turkey Tail Mushrooms, and Are They Easy to Grow?
Turkey Tail mushrooms are known for their layered, fan-like caps with bands of color that resemble a wild turkey’s feathers. Naturally found on decaying hardwood logs in forests, they play an essential role in breaking down dead wood and enriching soil. Turkey Tail mushrooms can thrive on hardwood logs or sawdust, making them a viable option for home growers who have access to these materials.
Are They Easy to Grow?
Turkey Tail mushrooms are relatively low-maintenance once established, making them accessible for both beginners and seasoned growers. Though they take longer to produce their first flush than some gourmet mushrooms, Turkey Tail mushrooms can provide consistent yields over several years with the log method, while the bag method offers a faster, more controlled indoor setup for year-round cultivation. Whichever method you choose, with patience and proper care, you’ll enjoy a steady supply of this unique and versatile mushroom.
Turkey Tail Mushroom Growth Stages:
- Spawning Stage: 2-4 weeks
- Colonization Stage: 3-6 months (varies based on method and conditions)
- Fruiting Stage: 1-2 weeks after colonization
- Harvest Stage: When the fruiting bodies are fully developed, with vibrant colors and distinct layering
Choosing Your Growing Method: Log vs. Bag
Before beginning your Turkey Tail mushroom cultivation, it's essential to select a method suited to your goals, environment, and patience level.
Growing on Logs:
- Best for: Outdoor growers who prefer a natural setup and are looking for a low-maintenance, sustainable option.
- Pros: Closely mimics natural conditions, allowing for a longer harvesting period (2-5 years per inoculated log).
- Cons: Requires patience, as it may take 6-12 months before the first harvest.
- Ideal for: Those with outdoor space and a desire for long-term, seasonal harvests.
Growing in Bags:
- Best for: Indoor growers seeking faster yields and greater control over conditions.
- Pros: Provides a more controlled environment, allowing for year-round cultivation with a shorter wait time.
- Cons: Requires more preparation, like creating or purchasing a suitable substrate mix and maintaining ideal humidity.
- Ideal for: Those looking to grow Turkey Tail mushrooms indoors with a shorter time to the first harvest.
Your choice of method depends on how quickly you’d like to see results and the level of involvement you prefer. Read on for step-by-step guides on both methods to get started growing Turkey Tail mushrooms at home.
How to Grow Turkey Tail Mushrooms in a Bag: A Step-by-Step Guide
Turkey Tail mushrooms (Trametes versicolor) are admired for their stunning, fan-like caps and rich medicinal history. Growing Turkey Tail mushrooms at home is a rewarding project, especially if you're interested in their wellness benefits or simply want to enjoy their colorful presence. Though Turkey Tail mushrooms grow slower than some varieties, they offer consistent yields when cultivated in bags, allowing you to control your growing environment and enjoy a sustainable supply. Here’s everything you need to know to start growing Turkey Tail mushrooms in a bag at home!
1. Preparing Your Mushroom Supplies and Growing Space
Starting with the right supplies and a well-prepared space sets the foundation for successful Turkey Tail cultivation.
Recommended Pre-made Grow Blocks: If you’re new to mushroom cultivation, pre-made grow blocks can save you a lot of time and effort. These blocks are fully colonized and ready to fruit, allowing you to skip the substrate preparation process entirely. Brands like Myco Labs offer reliable, high-quality pre-made grow kits for beginners.
Substrate Options:
- Hardwood Sawdust: Turkey Tail mushrooms thrive on hardwood sawdust (such as oak or beech), which provides essential nutrients and closely mimics their natural growing environment.
- Supplements: Adding 10-20% wheat bran or rice bran to your sawdust substrate can boost nutrient levels and encourage strong mycelium growth.
- Mushroom Grow Bags: Specially designed mushroom grow bags come with built-in filter patches for air exchange, helping prevent contamination.
Turkey Tail Grain Spawn: This is the "seed" that will grow into Turkey Tail mushrooms. Be sure to purchase grain spawn from a trusted supplier, such as North Spore, to ensure quality.
Setting Up Your Growing Space:
- Clean Environment: Choose a dust-free area with stable temperatures between 65-75°F (18-24°C). This could be a spare room, basement, or closet.
- Humidity Control: Turkey Tail mushrooms require high humidity (85-95%) during the fruiting stage, so consider using a humidifier or misting the space regularly.
Tip: If you’re new to mushroom growing, pre-made grow blocks are an ideal option, letting you skip directly to fruiting without preparing your own substrate.
2. Preparing the Substrate
If you’re starting from scratch and want to prepare your own substrate, hardwood sawdust mixed with a supplement like wheat bran works well for Turkey Tail mushrooms.
Using Hardwood Sawdust as a Substrate:
- Mix the Substrate: Combine hardwood sawdust with 10-20% wheat bran for added nutrients.
- Check Moisture Levels: Aim for 60-65% moisture in the substrate. A simple test is to squeeze a handful of the substrate—if it holds together without dripping, it’s ready.
- Pack and Sterilize: Fill mushroom grow bags with the substrate, leaving a bit of space at the top. Sterilize the bags in a pressure cooker at 15 PSI for 90-120 minutes. This step kills any contaminants that could prevent mycelium growth.
Pro Tip: Hardwood sawdust pellets (often sold for heating) can be a convenient option. Soak them in water to turn them into a substrate before adding the bran supplement.
3. Inoculating the Substrate
Inoculation is the process of adding Turkey Tail spawn to your prepared substrate, allowing the mycelium (the mushroom’s vegetative structure) to colonize the substrate.
Steps for Inoculation:
- Sanitize Your Workspace: Clean your surfaces with alcohol or a mild bleach solution, wash your hands, and wear gloves if possible.
- Add the Turkey Tail Spawn: Once the substrate bags have cooled to room temperature, open them and add Turkey Tail grain spawn (around 2-3 cups per 5 pounds of substrate). Use a sanitized tool or gloved hands to mix the spawn evenly.
- Seal the Bags: Fold the top of each bag and secure it with a zip tie, making sure the filter patch remains exposed for airflow.
Tip: Evenly mixing the spawn throughout the substrate is essential for thorough colonization. Unevenly distributed spawn may result in patchy growth.
4. Incubating the Mycelium
Incubation is the phase where Turkey Tail mycelium spreads through the substrate, creating a dense, white network. Turkey Tail mushrooms grow slowly, so patience is key.
- Store in a Dark, Warm Place: Place the bags in a dark, warm area with temperatures between 65-75°F (18-24°C).
- Watch for White Growth: Over the next 2-3 months, you should see the white mycelium gradually spreading through the substrate. Check the bags every week or so.
- Check for Contaminants: Look for any green, black, or yellow spots, which indicate contamination. If any bags show these signs, remove them to avoid contaminating healthy bags.
Fun Fact: Mycelium, the fungal network that colonizes the substrate, is vital for mushroom growth. A fully colonized bag should look solid and entirely white.
5. How to Know When the Substrate is Fully Colonized
A fully colonized substrate will appear solid white and firm, with no visible spots of the original substrate.
- Uniform White Coverage: The entire bag should be coated in a thick, white layer of mycelium.
- Firm Feel: Gently press on the bag; it should feel solid due to the dense network of mycelium.
- No Unusual Odors: A healthy bag should have an earthy smell. Sour or musty odors usually indicate contamination.
Tip: Patience here is crucial. Moving to fruiting conditions too early can stress the mycelium and affect your harvest.
6. Transition to Fruiting Conditions
Once your substrate is fully colonized, it’s time to encourage fruiting by providing the right environment.
- Prepare a Fruiting Chamber: A plastic tote with holes for ventilation works well. Line the bottom with damp perlite or a wet towel to maintain humidity.
- Cut Slits in the Bag: Using a clean knife, make several small slits or “X” shapes on the bag where the mushrooms will grow.
- Set the Bag in Fruiting Conditions: Place the bag in the fruiting chamber, with the slits exposed to a humid environment. Turkey Tail mushrooms need indirect light for about 12 hours a day during this stage.
Humidity and Airflow: Turkey Tail mushrooms require 85-90% humidity, which can be maintained with regular misting or a small humidifier. Ensure good air exchange to prevent CO₂ buildup, as poor airflow can inhibit mushroom development.
Recommended Tool: Consider using a monotub for a more controlled environment. A quality monotub, like the North Spore Monotub, offers a well-regulated setting for humidity, airflow, and temperature, making the process easier.
7. When and How to Harvest
Harvesting Turkey Tail mushrooms at the right time ensures the best quality and potency.
- When to Harvest: Look for fully developed caps with distinct, colorful bands. Overripe mushrooms may be tougher and lose some beneficial compounds.
- How to Harvest: Use a clean, sharp knife to cut the mushrooms close to the bag. Avoid twisting or pulling, as this can damage the mycelium and affect future flushes.
- Prepare for Additional Flushes: After harvesting, continue misting and maintaining humidity. Turkey Tail mushrooms can often produce multiple flushes, giving you additional yields.
Storage Tip: Turkey Tail mushrooms can be dried for long-term use in teas, tinctures, or other extracts. Simply spread them out in a cool, dry area, or use a food dehydrator for faster results.
Final Tips and Troubleshooting
Growing Turkey Tail mushrooms requires patience, but following these steps carefully will set you up for success.
- Avoid Contamination: Keep your workspace clean and handle all equipment with care to reduce the risk of contamination.
- Maintain Humidity: Turkey Tail mushrooms require consistently high humidity. Regular misting or a humidifier can help.
- Be Patient: Turkey Tail mushrooms are slower to grow than other varieties. Enjoy the process and remember that good things come to those who wait!
By following these steps, you’ll be well on your way to cultivating beautiful, colorful Turkey Tail mushrooms at home. Whether you’re growing them for wellness, aesthetics, or culinary use, this guide will help you succeed every step of the way. Enjoy the journey and happy growing!
How to Grow Turkey Tail Mushrooms on Logs: A Step-by-Step Guide
Turkey Tail mushrooms (Trametes versicolor) are admired for their colorful, banded caps and their potential health benefits. Growing them on logs outdoors mimics their natural environment and can yield mushrooms over several years. Though it’s a long-term project, the rewards include sustainable harvests and the unique experience of observing nature's cycles. Here’s a thorough guide to cultivating Turkey Tail mushrooms on logs, complete with timelines and tips to help you succeed.
1. Gathering Supplies and Choosing the Right Logs
Starting with the right materials is essential for successful Turkey Tail cultivation on logs. Here’s what you’ll need:
Turkey Tail Plug Spawn: Plug spawn consists of small wooden dowels inoculated with Turkey Tail mycelium. They’re easy to insert into logs and provide a reliable way to introduce the mushroom culture to the wood. For quality and convenience, consider plug spawn kits from suppliers like North Spore, which often include everything you need, including the spawn, wax, and drill bits.
Logs: Freshly cut hardwood logs work best. Turkey Tail mushrooms prefer hardwoods such as oak, beech, and maple, as these species retain moisture and decompose at a pace that suits the mushrooms’ growth cycle.
Inoculation Tools:
- Drill: A drill with a 5/16-inch bit is ideal for creating holes to insert the plugs.
- Hammer or Rubber Mallet: For gently tapping the plug spawn into the holes.
- Wax: After inoculation, melted wax (such as cheese or beeswax) is applied over each hole to seal in moisture and prevent contaminants from entering.
Log Selection Tips:
- When to Cut Logs: Cut hardwood logs from live trees during late winter or early spring. This timing ensures the logs have high moisture content and are free from other competing fungi.
- Ideal Log Size: Logs around 3-4 feet long and 4-8 inches in diameter provide enough surface area for multiple inoculation points without being too heavy to handle.
- Best Wood Species: Oak, beech, and maple are top choices. Avoid conifers like pine or cedar, as their resins and oils inhibit mushroom growth.
2. Inoculating the Logs
Inoculating your logs is the process of introducing Turkey Tail mycelium to the wood. Proper inoculation sets the foundation for healthy colonization and future mushroom growth. Aim to inoculate logs within 2-6 weeks of cutting to maintain moisture and freshness.
Steps for Inoculation:
- Drill the Holes: Use a 5/16-inch drill bit to create holes about 1–1.5 inches deep. Space these holes in a diamond pattern along the log, about 4–6 inches apart. For a standard 3-foot log, you’ll need around 30–40 holes to ensure good coverage.
- Insert the Plug Spawn: Place a Turkey Tail plug spawn into each hole, then tap it in gently with a hammer or rubber mallet until it’s flush with the log surface. Make sure the plugs fit snugly to promote solid contact between the spawn and the wood.
- Seal with Wax: Melt wax and brush it over each inoculation point. This step helps retain moisture in the plugs, prevents contamination, and protects the spawn from pests. Sealing the cut ends of the logs with wax also helps prevent moisture loss during colonization.
Tip: Inoculating logs as soon as possible after cutting increases the likelihood of successful colonization, as fresh logs are less likely to harbor competing fungi.
3. Setting Up Logs for Incubation
After inoculating the logs, they need to be placed in a suitable location for the mycelium to colonize the wood fully. This incubation stage usually lasts 6-18 months, allowing the mycelium time to spread and digest the wood.
Selecting a Location:
- Shade: Choose a shady, humid area outdoors, like under a tree canopy, where the logs won’t dry out too quickly. Turkey Tail mushrooms thrive in conditions similar to those of their natural forest environment.
- Elevate the Logs: Place the logs on bricks, pallets, or other supports to keep them off the ground. This prevents soil-borne fungi from contaminating them and also allows for better airflow.
Stacking Methods:
- Lean-To Stack: Lean logs against one another or against a support structure to maximize air circulation.
- Log Cabin Stack: Crisscrossing logs in a log-cabin pattern helps ensure stability and consistent airflow between the logs.
Incubation Tip: Water the logs periodically during dry spells to maintain moisture levels, especially in warmer months. Use a garden hose to spray them or, for a deeper soak, submerge the logs in a tub of water for a few hours.
4. Monitoring and Incubating the Logs
During incubation, the Turkey Tail mycelium will gradually spread throughout the wood, digesting the log and preparing it for mushroom production. Patience is crucial here, as Turkey Tail mushrooms take time to colonize.
Incubation Timeline: Full colonization typically takes 6–18 months, depending on the wood type, log size, and climate.
Signs of Mycelium Growth:
- White Mycelium: Over time, you may see white, fuzzy mycelium forming near the plug sites or peeking out from under the bark. This is a positive sign that the mycelium is spreading.
- Bark Test: Gently peel back a small section of bark to check for white mycelium beneath it. This confirms colonization without damaging the log significantly.
Fun Fact: Turkey Tail mycelium digests lignin and cellulose in the wood, converting it into nutrients. This process not only prepares the log for mushroom production but also enriches the soil over time.
5. How to Tell if Logs Are Fully Colonized
Knowing when your logs are fully colonized is essential before moving on to fruiting. Here’s how to check:
Signs of Full Colonization:
- White Mycelium Under Bark: Peeling back a small section of bark should reveal a thick, white layer of mycelium.
- Solid Sound: Tapping the log lightly with a hammer should produce a firm, dense sound. This indicates that the mycelium has taken hold within the wood fibers.
- Timeline Expectations: Logs inoculated in spring may start fruiting by the following fall or spring, depending on the climate and wood species.
Patience Pays Off: Resist the urge to force fruiting too soon. Allowing the mycelium to fully colonize results in a more robust and productive mushroom yield.
6. Encouraging Fruiting and Harvesting Turkey Tail Mushrooms
Once your logs are fully colonized, Turkey Tail mushrooms can begin to fruit when conditions are favorable, typically in cool, damp weather. You can also stimulate fruiting by soaking the logs in water after the 6–18 month incubation period, once colonization is confirmed.
Soaking the Logs:
- Triggering Fruiting with a Soak: To encourage fruiting, submerge the logs in water for 24 hours. This soaking mimics a heavy rain event and signals to the mycelium that it’s time to fruit.
- Fruiting Placement: After soaking, position the logs in a shady, humid spot. Lay them horizontally or set them upright with part of the log buried for stability.
Creating Ideal Fruiting Conditions:
- Humidity and Airflow: Turkey Tail mushrooms require high humidity (85-95%) during fruiting. Water the logs or mist the area regularly to maintain moisture. Good airflow helps prevent mold, so avoid placing the logs in overly enclosed spaces.
- Temperature and Light: Turkey Tail mushrooms do well in indirect light and cool temperatures, typically fruiting best in fall or spring.
Recommended Tool: A garden sprinkler or regular misting with a hose can help maintain the necessary humidity levels around the logs.
7. When and How to Harvest Turkey Tail Mushrooms
Harvesting Turkey Tail mushrooms at the right time ensures optimal potency and quality. Here’s what you need to know:
When to Harvest:
- Fully Developed Caps: Turkey Tail mushrooms are ready when the caps display vibrant color bands and a leathery texture. Overripe mushrooms may lose some of their beneficial compounds and become tougher.
- Observation Tip: Harvest when the mushrooms are at their peak color, as this indicates active growth and freshness.
How to Harvest:
- Use a Clean Knife: Cut the mushrooms at the base close to the log to avoid damaging the mycelium. Avoid twisting or pulling, which can harm the structure and reduce future yields.
- Second Flush Preparation: After harvesting, keep the logs moist. Turkey Tail mushrooms can produce multiple flushes annually if properly cared for.
Storage Tip: Turkey Tail mushrooms are commonly dried for teas or tinctures. Use a food dehydrator or dry them in a cool, well-ventilated area before storing them in an airtight container.
Final Tips and Troubleshooting
Growing Turkey Tail mushrooms on logs can be a long-term project, but here are some final tips to keep your cultivation successful:
- Keep Moisture Levels Consistent: Turkey Tail mushrooms thrive on moisture. Regularly check your logs and water them as needed, especially during dry spells.
- Watch for Competing Fungi: Other fungi may try to colonize the logs. If you notice different colors or textures, try to scrape them off or increase your logs’ humidity and airflow.
- Patience is Key: Turkey Tail mushrooms grow slowly, so trust the process and enjoy observing the mycelium’s progression over time.
With proper care and patience, your logs will yield beautiful, multi-colored Turkey Tail mushrooms that can be harvested for years. This natural growing method not only provides a sustainable source of mushrooms but also creates a unique, rewarding outdoor project. Enjoy the journey!
How to Store Turkey Tail Mushrooms
After harvesting your Turkey Tail mushrooms, proper storage will help maintain their quality and preserve them for future use. Here are some methods to keep your harvest fresh and potent:
- Refrigeration: Fresh Turkey Tail mushrooms should be stored in a paper bag in the refrigerator. The paper bag helps absorb excess moisture and prevents the mushrooms from becoming slimy. Stored this way, they should remain fresh for up to a week.
- Dehydration: Turkey Tail mushrooms are often dried, as drying preserves their medicinal qualities and extends their shelf life significantly. To dehydrate them, use a food dehydrator or place them in the oven on the lowest setting until they are fully dry. Once dried, store them in an airtight container in a cool, dark place. Dried Turkey Tail mushrooms can last up to a year when stored properly.
- Freezing: If you prefer to freeze Turkey Tail mushrooms, slice them and store them in an airtight container or zip-top bag. Freezing is a convenient option if you plan to use them in teas or tinctures, although it may slightly alter the texture. Frozen Turkey Tail mushrooms can last up to six months.
Fresh vs. Dried Turkey Tail Mushrooms
Each storage method provides unique benefits, so consider how you plan to use your Turkey Tail mushrooms when deciding between fresh and dried options:
- Fresh Turkey Tail: Fresh mushrooms have a leathery texture and can be used immediately to brew tea or create tinctures. They’re ideal for recipes where you want the full flavor and texture of the mushroom.
- Dried Turkey Tail: Dried Turkey Tail mushrooms are concentrated in flavor and easier to store long-term. They’re perfect for making teas, powders, or extracts. To rehydrate, soak them in warm water for about 20-30 minutes, or add directly to soups and broths.
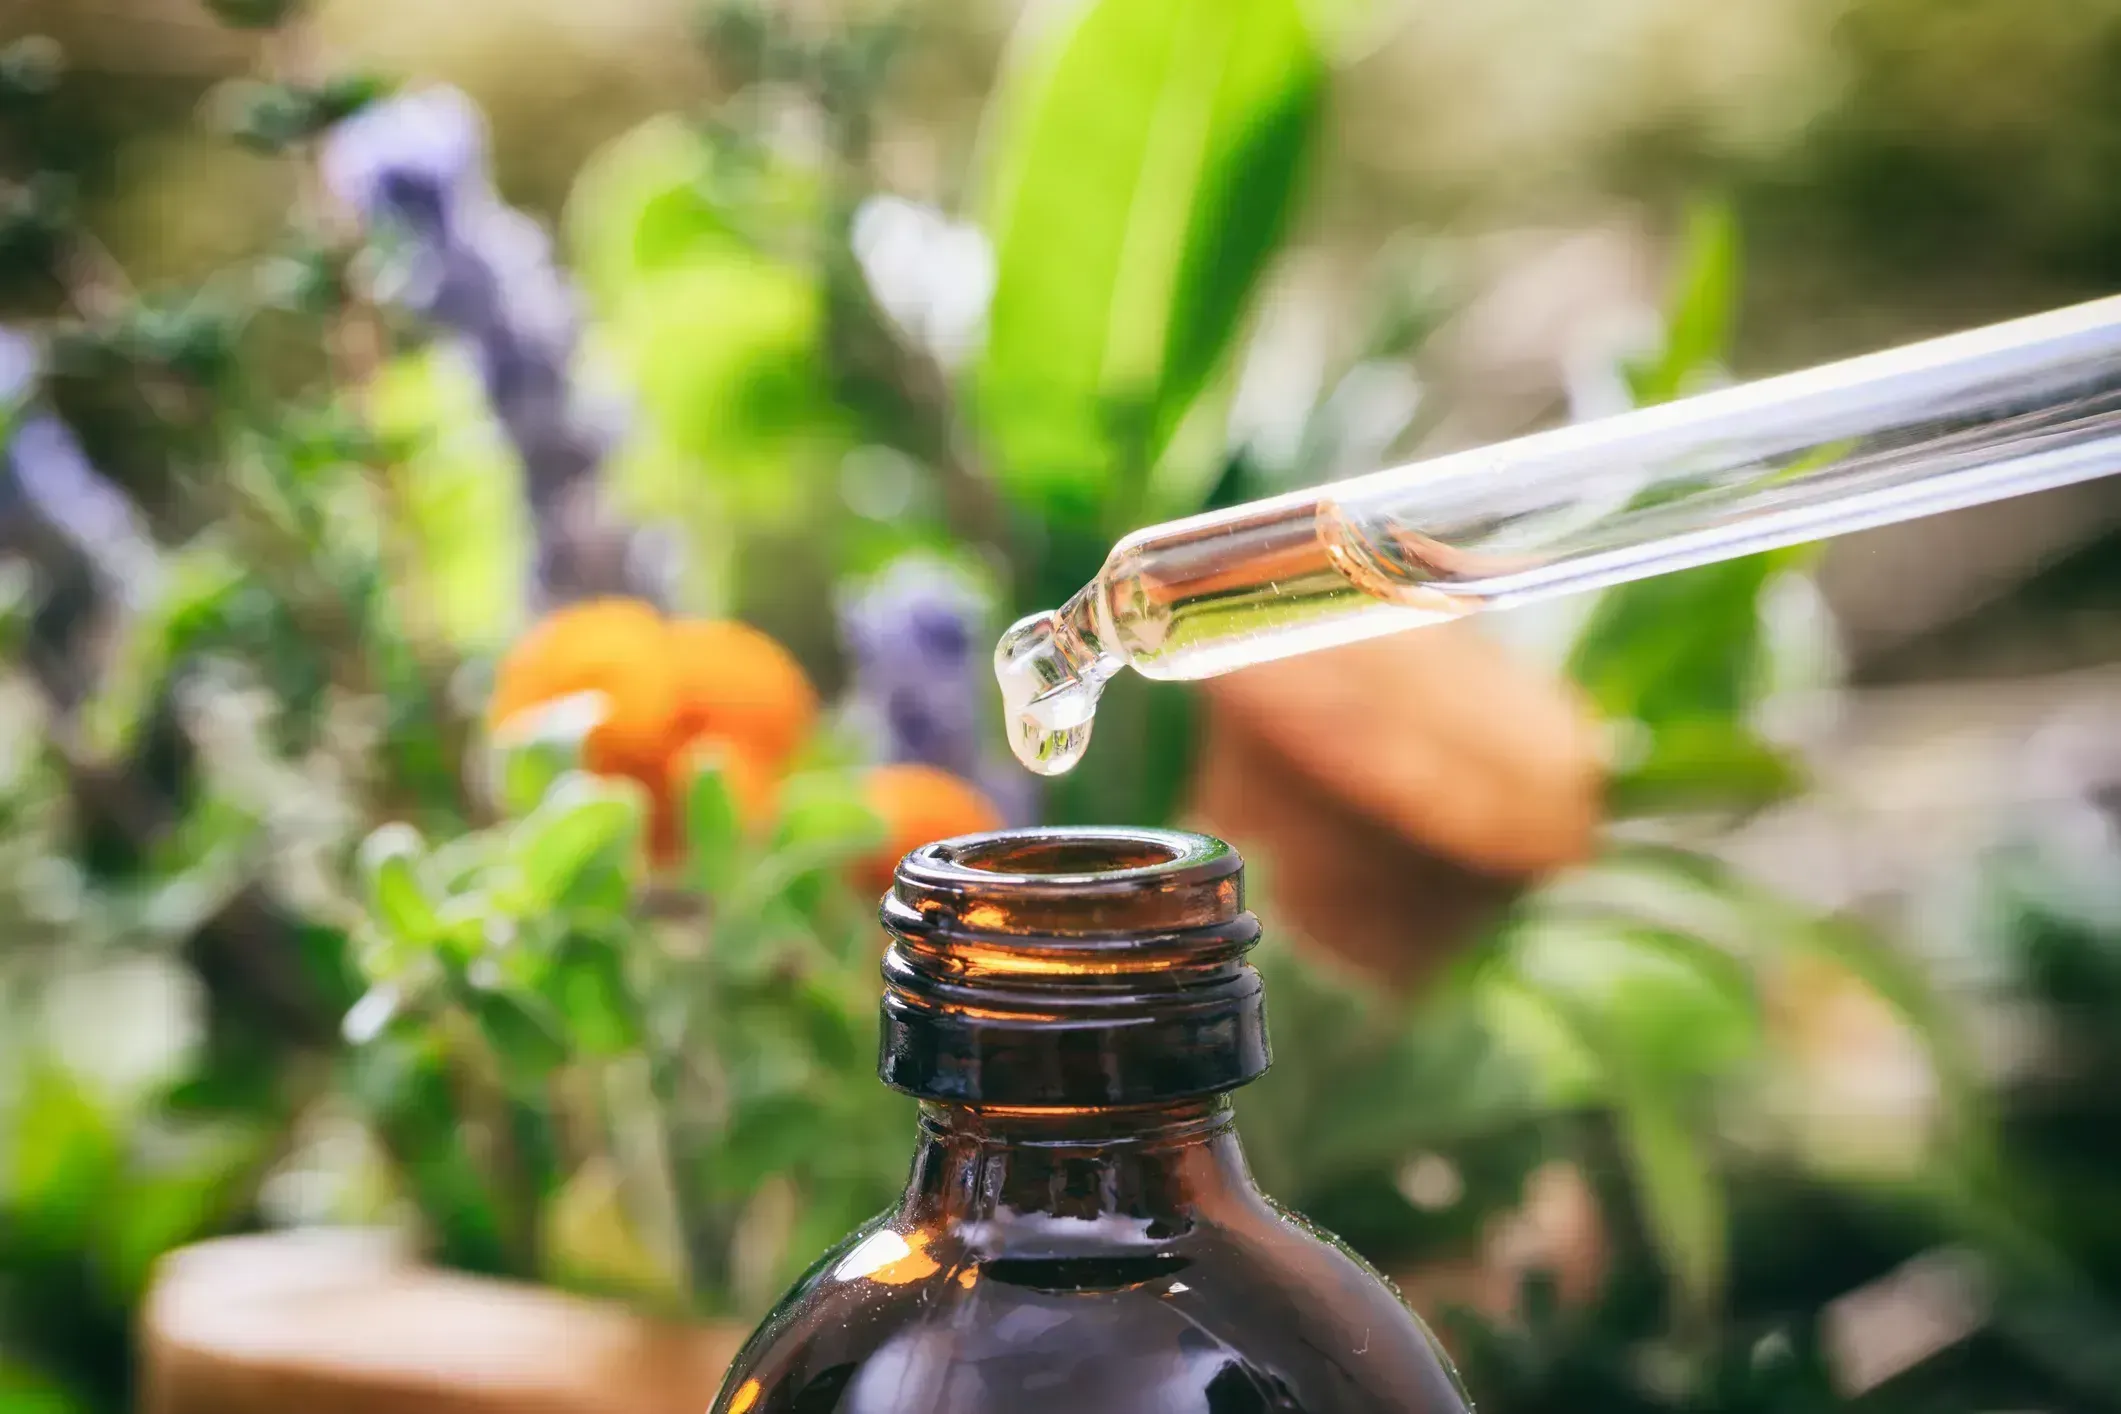
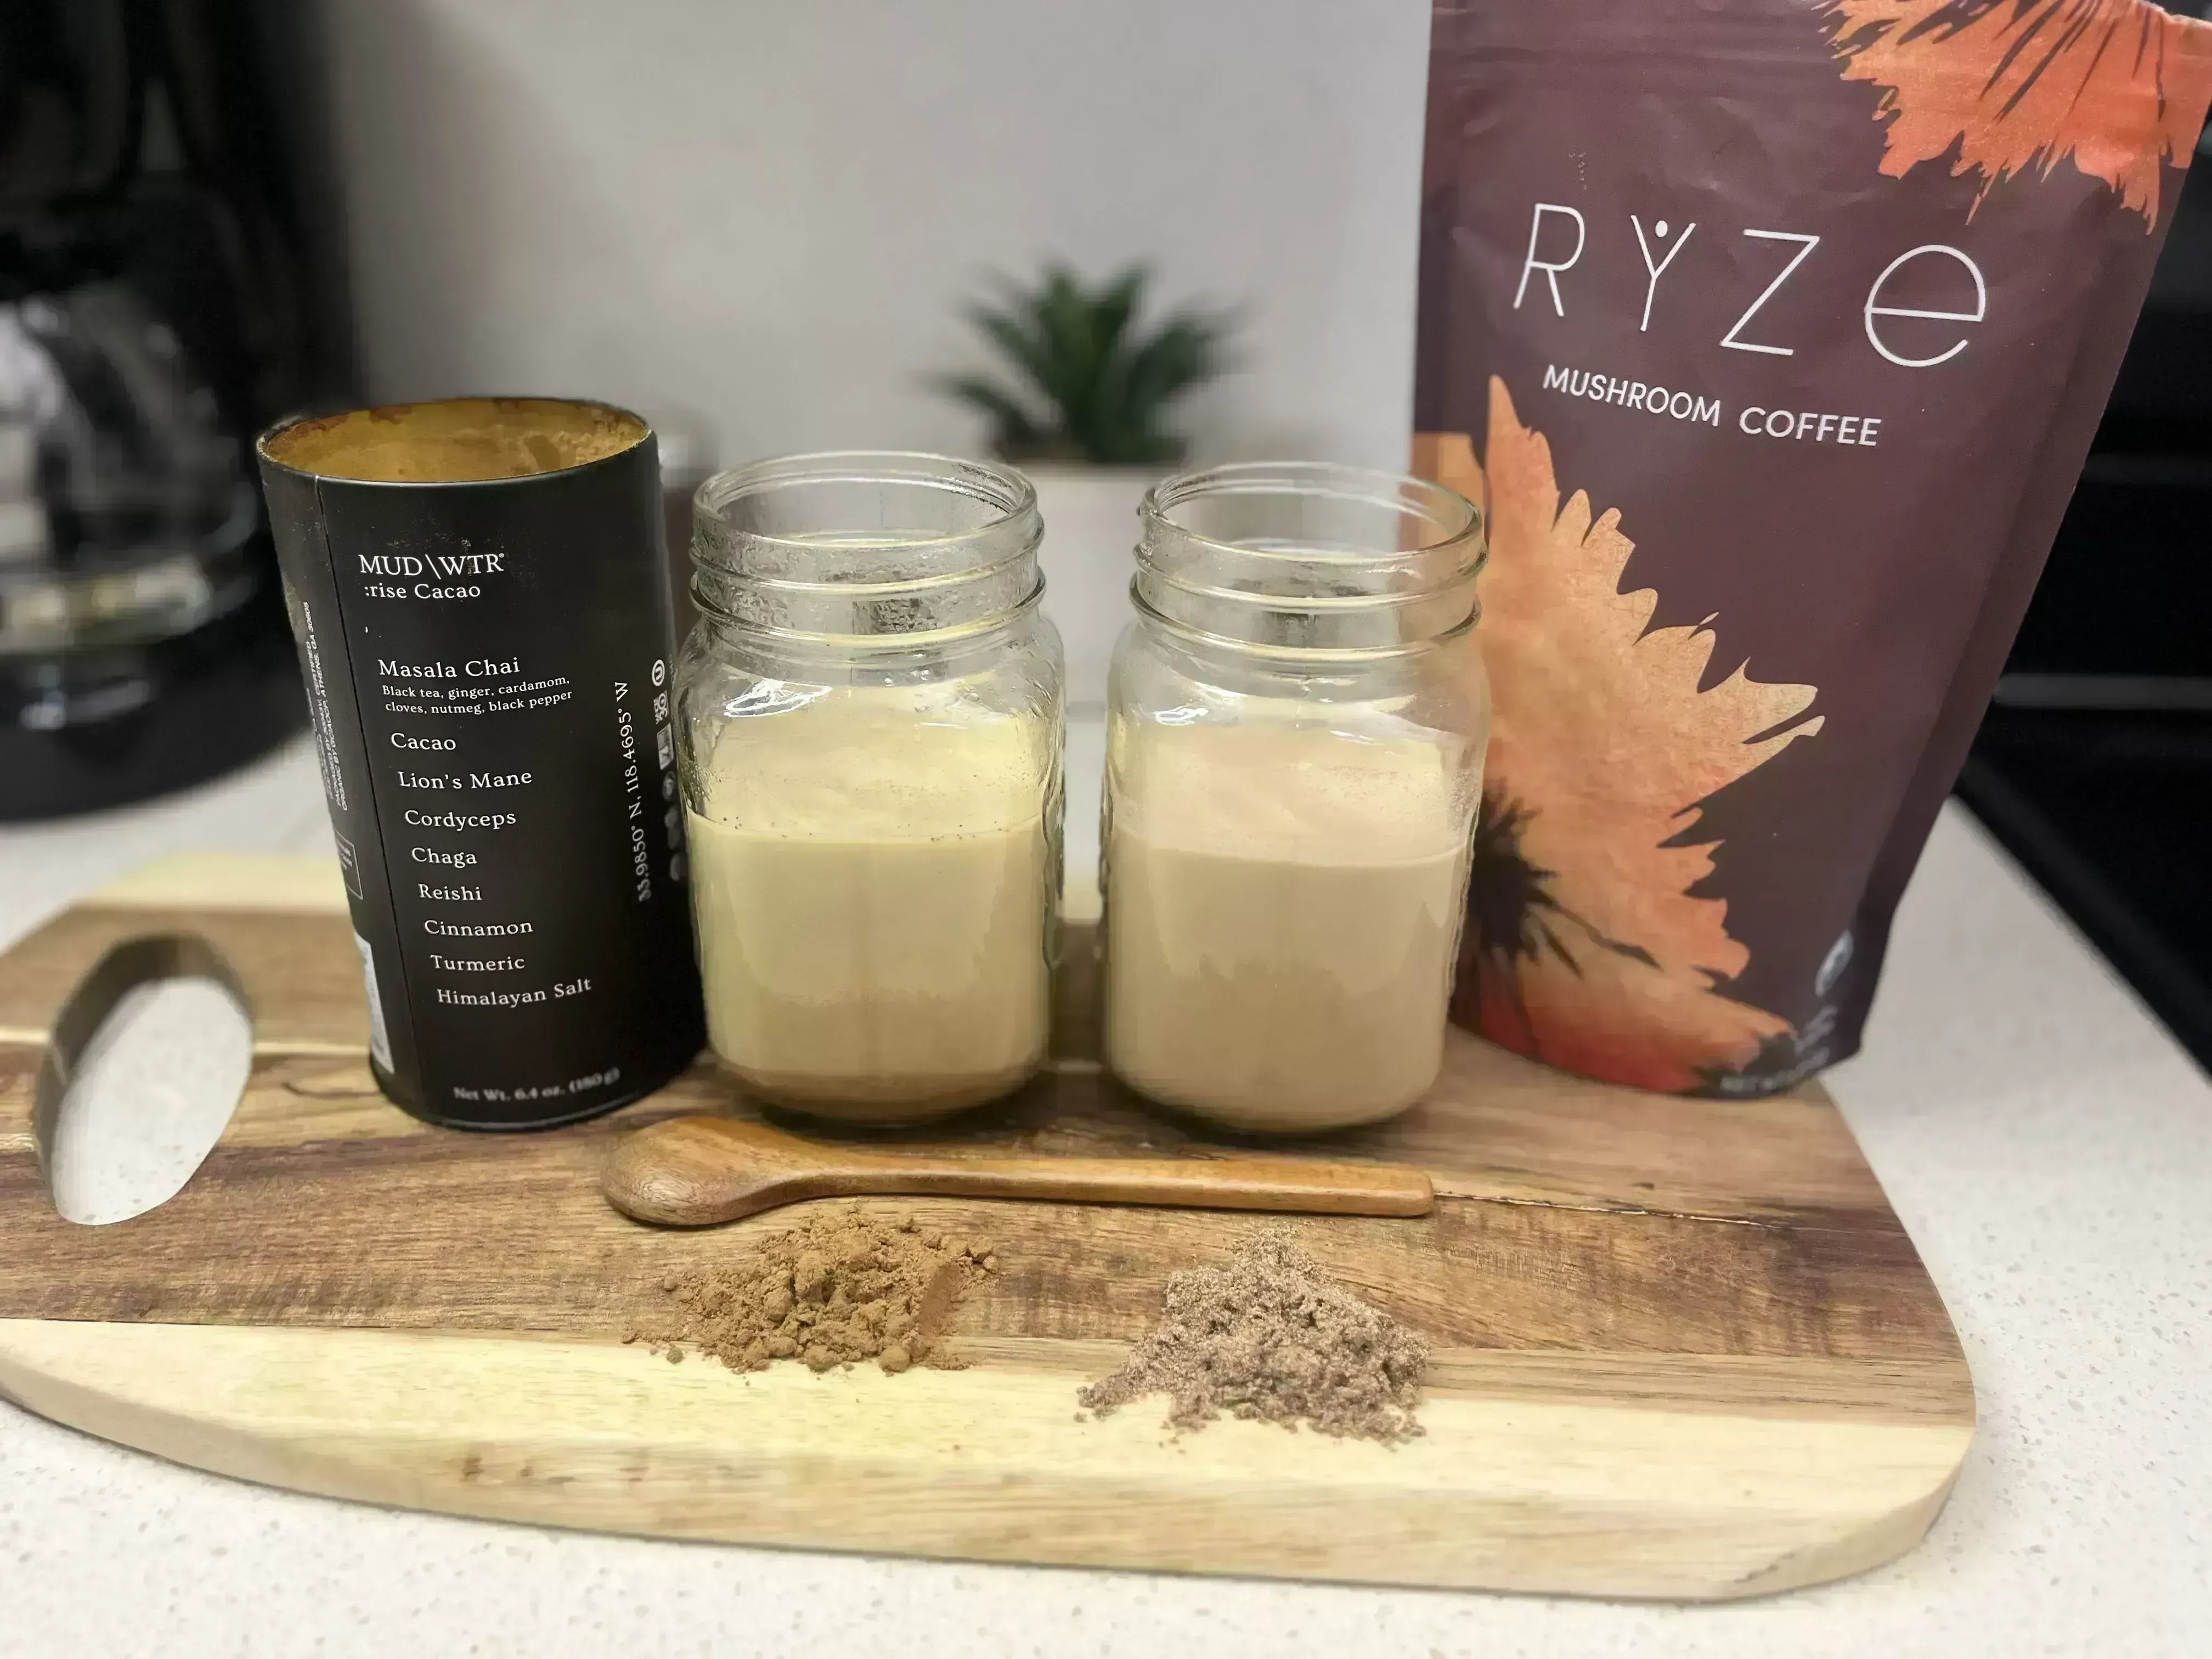
Pro Tip: Dried Turkey Tail mushrooms can be ground into powder and added to smoothies, coffee, or even recipes as a subtle health boost.
Dive Deeper into Mushroom Cultivation
Cultivating Turkey Tail mushrooms on logs is a gratifying way to engage with the world of fungi and provides a sustainable harvest for years. Once you’ve mastered the basics of growing Turkey Tail, you might be ready to explore other exciting mushroom projects. Here are some ideas to continue your mushroom cultivation journey:
- How to Make Turkey Tail Tea: Discover a simple recipe to brew a soothing tea with your Turkey Tail mushrooms, known for its earthy flavor and potential wellness benefits.
- Creating a Turkey Tail Tincture: Learn the step-by-step process of making a Turkey Tail tincture, which is a great way to concentrate and preserve its beneficial compounds.
- More Growing Guides: Expand your mushroom-growing skills with our detailed guides on cultivating other varieties like Shiitake, Reishi, and Oyster mushrooms—each offering unique flavors and uses.
- Downloadable Mushroom Cultivation Guide: Get our free, downloadable guide that covers everything from beginner-friendly tips to advanced techniques in mushroom growing.
With these resources, you can make the most of your Turkey Tail harvest and deepen your understanding of mushroom cultivation. Happy growing, and enjoy your harvest!